There are four pages you need for the Beat Store:
- Checkout
- Transaction Failed
- Purchase Confirmation
- Purchase History
If you do not have these static pages, follow these steps to create the four pages.
1. Create the Checkout Page
1. In WordPress, click Add New under pages on the sidebar.
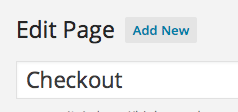
2. Name the page: Checkout
3. In the content area, add this shortcode:
[download_checkout]
Image Preview
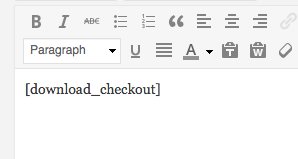
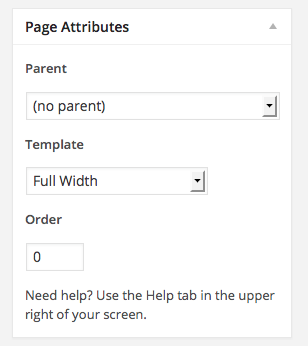
4. Under Page Attributes, select the Full Width template.
5. Click the Publish button to make the page live.
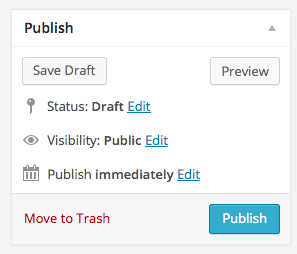
The checkout page has been added.
2. Create a Purchase History Page
1. In WordPress, click Add New under pages on the sidebar.
2. Name the page: Purchase History
3. In the content area, add this shortcode:
[purchase_history]
4. Under Page Attributes, select the Full Width template.
5. Click the Publish button to make the page live.
3. Create a Transaction Failed Page
1. In WordPress, click Add New under pages on the sidebar.
2. Name the page: Transaction Failed
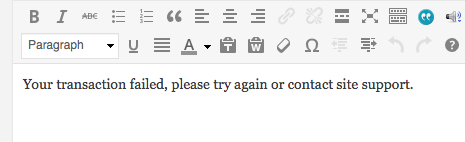
3. In the content area, add this text:
Your transaction failed, please try again or contact site support.
Image Preview
4. Under Page Attributes, select the Full Width template.
5. Click the Publish button to make the page live.
4. Create a Purchase Confirmation Page
1. In WordPress, click Add New under pages on the sidebar.
2. Name the page: Purchase Confirmation
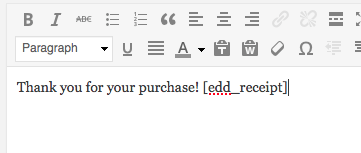
3. In the content area, add this text:
Thank you for your purchase! [edd_receipt]
Image Preview
4. Under Page Attributes, select the Full Width template.
5. Click the Publish button to make the page live.
5. Add the New Pages to the Beat Settings Page
1. In WordPress, click Settings under Beat Store on the sidebar.
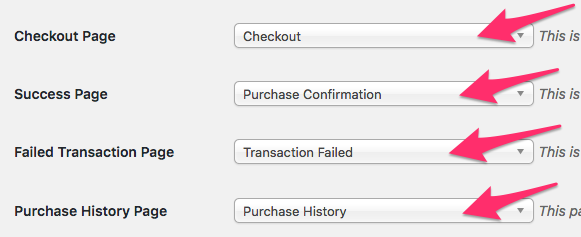
2. Under the General tab:
- Select Checkout next to Checkout Page.
- Select Purchase Confirmation next to the Success Page.
- Select Transaction Failed next to Failed Transaction Page.
- Select Purchase History next to Purchase History.
3. Click the save changes button at the bottom of the page.

Done. Your beat shopping cart pages should now work.
Related: Checkout Page Appears Empty / Checkout Page Doesn’t Work
Need Help?
1. Try searching for answers. Try searching different terms if you can't find a answer. 2. Try troubleshooting if something is not working.
3. If you can't find answers, click to leave a comment. Provide website links and detailed information.